
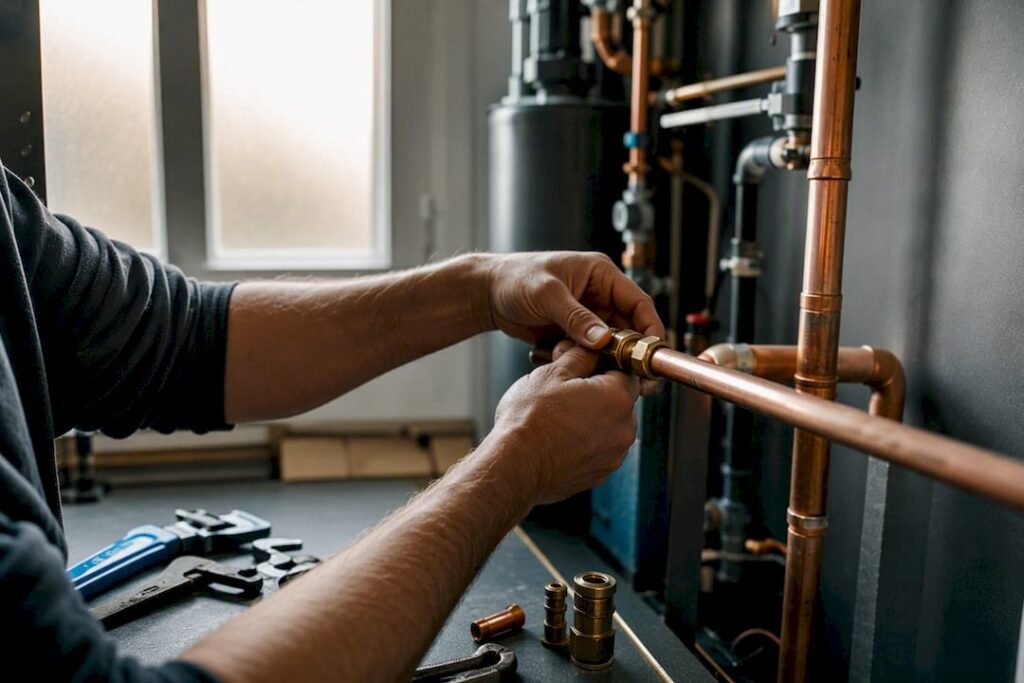
Select the smallest pipe diameter where available source pressure, minus elevation loss, minus device losses, minus friction loss, still leaves the required residual pressure at the most hydraulically remote fixture, while calculated velocity stays under the material limit. That single inequality governs every water pipe sizing decision you make, whether you’re specifying a 3/4-inch branch to a powder room or a 2-inch service to a mixed-use building.
Before running that check, you need six inputs: available static pressure at the service connection, the elevation of the highest or most remote fixture, combined hot and cold demand converted from Water Supply Fixture Units (WSFU) into gallons per minute, the developed length of pipe plus equivalent length of fittings, the required residual pressure at the remote fixture, and a target maximum velocity appropriate to the pipe material.
- Available pressure, elevation, and required residual pressure define your pressure budget.
- WSFU-to-gpm conversion and developed length define your flow and friction inputs.
- Material-specific velocity limits define your upper bound on pipe size.
Confirm which code governs your jurisdiction before you calculate anything. In Canada, that means the National Plumbing Code of Canada 2025 or the local authority’s adopted equivalent, not the International Plumbing Code (IPC) tables used south of the border, though the underlying engineering logic in IPC Appendix E is instructive for the segmented-loss method.
Key Takeaways
Correct water pipe sizing balances a pressure budget against friction and velocity limits, and skipping any one variable produces either undersized flow or noisy, erosion-prone piping.
| Point | Details |
|---|---|
| Pressure budget rules the selection | Available pressure minus elevation, device, and friction losses must exceed required residual pressure. |
| WSFU beats direct flow addition | Convert fixture counts through Water Supply Fixture Units rather than summing rated flow rates. |
| Velocity limits vary by service | Keep cold water near typical upper limits and hot water lower due to temperature effects, to limit erosion and noise. |
| Confirm the governing code | Use the National Plumbing Code of Canada or the locally adopted equivalent, not IPC tables by default. |
| FutureGen delivers full documentation | Futuregenconsulting provides WSFU worksheets, pressure budgets, and stamped calculations for permit submission. |
Table of Contents
- Water Pipe Sizing Quick Checks Before You Calculate
- Step-By-Step Water Pipe Sizing Procedure
- Friction Loss Methods and Velocity Limits by Material
- Worked Example: Sizing a Residential Water Service and Branch
- Calculators and Charts for Faster Pipe Diameter Calculation
- Permit and Municipal Requirements for Water Service Sizing
- Common Water Pipe Sizing Mistakes and Quick Fixes
- How FutureGen Approaches Water Pipe Sizing on Projects
- Frequently Asked Questions
- Sources
Water Pipe Sizing Quick Checks Before You Calculate
Most residential branches land on either 1/2-inch or 3/4-inch pipe, and that pattern tempts designers into skipping the math entirely. It works often enough to feel safe, until it doesn’t. A 3/4-inch branch feeding two bathrooms with a rain shower head and a soaker tub on the same fixture group can starve both simultaneously, even though the same size performs fine for a single bathroom.
A few field checks catch obvious problems early:
- Most adopted codes set a minimum water service size, commonly small but not less than typical minimums, regardless of calculated demand.
- Cold water velocity generally should run 5 to 8 feet per second; hot water runs lower, roughly 2 to 5 fps, because higher temperatures accelerate erosion and valve noise.
- If a branch serves more than two or three fixtures, or feeds a recirculation loop, stop guessing and run the full WSFU-based demand calculation.
Pro Tip: Keep a running log of WSFU totals by branch as you draft the fixture schedule. It turns the full calculation into a five-minute lookup instead of a rebuild from scratch when the layout shifts.
Step-By-Step Water Pipe Sizing Procedure
This is the segmented-loss workflow that IPC Appendix E formalizes and that the National Plumbing Code of Canada mirrors in structure, even where table values differ.
- Gather inputs. Record source pressure at the service point, meter pressure loss from manufacturer curves, elevation of the highest fixture, the fixture schedule with WSFU values split by cold, hot, and combined demand, any continuous loads (irrigation, makeup water), and losses from devices like backflow preventers or water softeners.
- Convert WSFU to probable peak gpm using the demand table matched to your system type and jurisdiction. Continuous demands get added afterward as actual gpm, not converted through WSFU.
- Build the pressure budget. Start with available pressure and subtract required residual pressure, meter loss, device losses, and elevation loss at 0.433 psi per vertical foot. What remains is your friction-loss allowance.
- Segment the system along the hydraulically remote path, the fixture requiring the most net pressure once elevation, run length, and fitting resistance are factored in, which is not always the physically highest fixture. Measure developed length, and add equivalent length for fittings.
- Trial pipe sizes. Use friction tables or Hazen-Williams and Darcy-Weisbach calculations against material-specific inside diameters to find friction loss per 100 feet, then scale to total developed length.
- Check velocity and residual pressure. If either exceeds limits, step up a size and recheck. Record the controlling condition, whether it was velocity, friction, or residual pressure, in your design notes.
Pro Tip: Document which condition controlled the final size. Reviewers and future renovators need to know whether you sized for velocity or for pressure, because the fix for one is not the fix for the other.
Friction Loss Methods and Velocity Limits by Material
Hazen-Williams is the workhorse formula for water at ordinary building temperatures. It’s empirical, simpler to apply from published charts, and accurate enough for most domestic systems. Darcy-Weisbach handles a wider range of temperatures and fluid viscosities, which makes it the better choice for high-temperature recirculation loops or systems with unusual flow behavior.
Material changes both inside diameter and roughness, which shifts the friction number even at identical nominal size. The Copper Tube Handbook sets out six core design considerations, including velocity ceilings around 8 fps for cold water and 5 fps for hot water up to roughly 140°F.
| Material | Typical velocity guidance | Friction reference |
|---|---|---|
| Copper (Types K, L, M) | Cold ≈ 8 fps, hot ≈ 5 fps | Copper Tube Handbook charts |
| PEX | Similar to copper, slightly lower for hot runs | Manufacturer flow charts |
| CPVC | Cold ≈ 8 fps, hot ≈ 5 fps with derating above 140°F | Manufacturer friction tables |
| PVC (service only) | Cold water use only | Manufacturer friction tables |
Higher water temperature thins the fluid slightly and raises erosion risk at a given velocity, which is why recirculating hot-water loops need tighter velocity limits than a straight cold-water run. That interaction also affects pump sizing on any system with a domestic hot water recirculation loop, since the circulator has to overcome continuous friction loss around the entire loop, not just a single fixture branch.
Pro Tip: When a recirculation loop runs through unconditioned space, budget extra friction allowance for the return leg. Heat loss along the way changes flow behavior in ways a single-pass calculation won’t catch.
Worked Example: Sizing a Residential Water Service and Branch
Assumptions: available static pressure of 60 psi at the meter, meter loss of 5 psi at peak flow, highest fixture 12 feet above the service entrance, a fixture schedule totaling 18 WSFU on the combined system, no continuous loads, required residual pressure of 20 psi at the remote fixture, and 55 feet of developed length with an estimated 15 feet of equivalent fitting length.
- Convert 18 WSFU to probable peak demand: roughly 12 gpm using the standard demand table for a combined residential system.
- Calculate elevation loss: 12 feet multiplied by the pressure loss per foot results in a pressure loss due to elevation.
- Build the pressure budget: 60 psi available, minus 20 psi required residual, minus meter loss, minus elevation loss, leaves pressure available for friction losses across the total developed length.
- Trial a 1/2-inch copper branch: friction loss runs well above that budget at 12 gpm, and velocity exceeds 8 fps. Reject.
- Trial a 3/4-inch copper branch: friction loss falls within the 42.6 psi/100 ft budget, and velocity lands around 6 fps, within the copper guidance.
- Select 3/4-inch as the branch size, controlled by velocity rather than pressure headroom, since the pressure budget had margin to spare at that size.
Record for the permit file:
- All stated assumptions, including meter loss source and elevation measurement point.
- Selected pipe size and the controlling condition (velocity, in this case).
- WSFU worksheet and demand table reference used for the gpm conversion.
Calculators and Charts for Faster Pipe Diameter Calculation
A handful of tool categories cover most of what you need during design. Diameter-by-flow calculators, like the TLV Pipe Sizing by Velocity tool, give a fast first pass on nominal size once you have a target flow rate and velocity ceiling in mind. Hazen-Williams friction lookup tools speed up the trial-size iteration in step five of the sizing procedure above. WSFU-to-gpm converters, including the workflow outlined in this domestic water pipe sizing guide, handle the demand conversion but stop short of validating the full pressure budget, so treat their output as an input to your calculation, not the final answer.
- Use velocity-based selectors for early concept sizing, not final permit calculations.
- Pull actual meter pressure-loss curves from the manufacturer rather than assuming a flat value.
- Check municipal sizing forms, such as the City of Mississauga’s water service sizing guidance, for the exact data format your permit reviewer expects.
Permit and Municipal Requirements for Water Service Sizing
Contact the water utility or authority having jurisdiction before finalizing a service size. Request the minimum guaranteed source pressure, the meter’s pressure-loss curve at peak flow, and any local minimum service diameter rule, since some municipalities mandate a floor regardless of calculated demand.
Municipal sizing documents, like the Mississauga water service sizing publication, often require a completed worksheet at permit submission. Build your submittal package around:
- The WSFU worksheet showing fixture counts and demand conversion.
- The full pressure budget with each deduction itemized.
- Developed length measurements including equivalent fitting allowances.
- Manufacturer data for meter loss and any specialty devices in the run.
Common Water Pipe Sizing Mistakes and Quick Fixes
Adding fixture flow rates directly instead of applying WSFU is the most common error, and it produces oversized systems that waste material without improving performance, since fixtures rarely run simultaneously at rated flow. Skipping device and meter losses is a close second.
- Ignoring velocity limits produces noisy, erosion-prone systems even when pressure checks pass.
- Using nominal pipe size instead of actual inside diameter on friction charts introduces meaningful error, particularly with thick-wall CPVC.
- Undersized recirculation branches show up later as complaint calls about slow hot water at remote fixtures.
Diagnose complaints by isolating the symptom: low flow at a single fixture usually points to friction loss or a partially closed valve, while system-wide noise points to velocity. Fixes range from adjusting the pump curve to re-routing a run or stepping up nominal size on the affected segment, with every change documented for code review.
How FutureGen Approaches Water Pipe Sizing on Projects
Every plumbing design package Futuregenconsulting delivers includes a fixture schedule with WSFU worksheet, a full pressure-budget calculation, and segment-by-segment friction and velocity checks referenced against manufacturer device-loss data. Each deliverable is cross-checked against the National Plumbing Code of Canada and, where applicable, IPC Appendix E methodology, with assumptions recorded in a concise design note suited to permit submission.
Quality control extends past the desk calculation. On-site verification during construction confirms that installed runs match the developed length and fitting count assumed in the design, catching the field deviations that undermine an otherwise correct calculation.
- Fixture schedule and WSFU worksheet preparation
- Full pressure-budget and friction/velocity checks by segment
- Manufacturer device-loss citations and assumption documentation
- Permit-ready design notes with engineer-stamped calculations
For projects needing stamped calculations or a full plumbing scope inside a larger MEP design package, Futuregenconsulting’s engineering team builds sizing into the broader mechanical and electrical coordination from the start.
A Practical Note on Sizing Trade-Offs
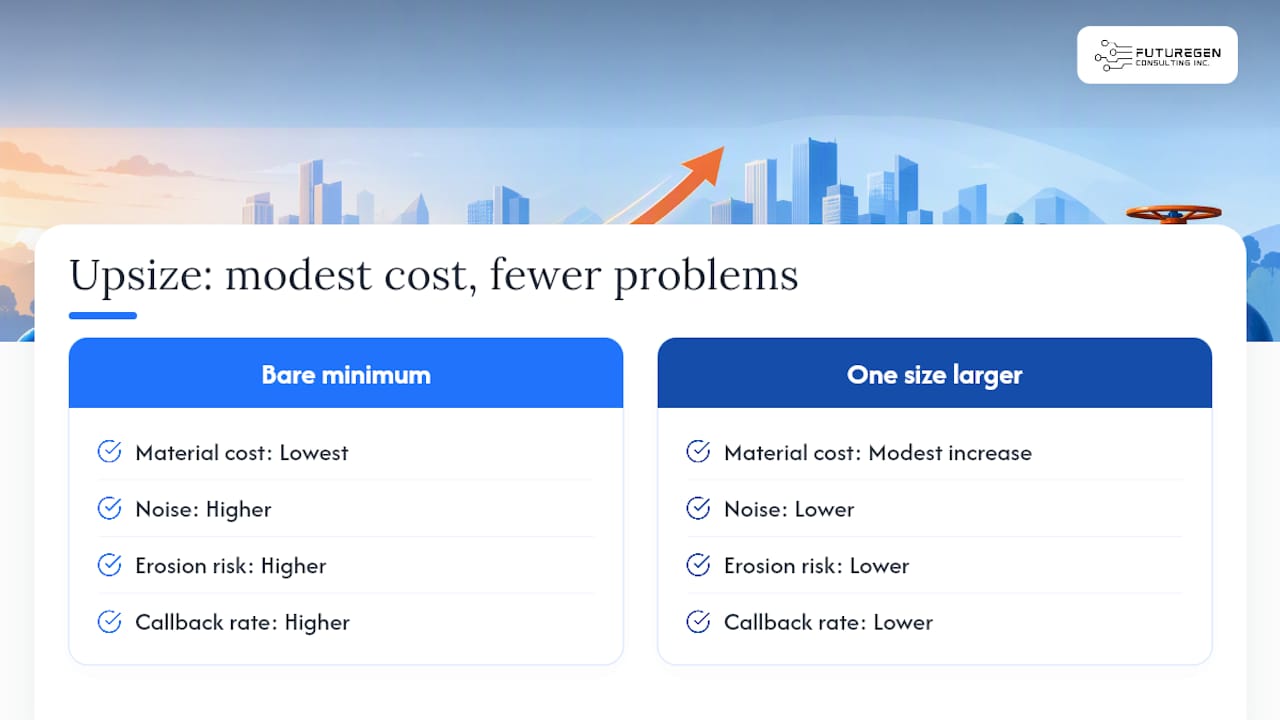
Going one size larger than the bare minimum adds modest material cost but cuts noise, erosion risk, and callback rates over the system’s life. For continuous circulation loops or aggressive water chemistry, size conservatively and write down exactly which condition, velocity, friction, or residual pressure, drove your final selection.
Request Water Pipe Sizing Support From FutureGen
Futuregenconsulting builds pipe sizing calculations into full plumbing design scope rather than treating it as an afterthought bolted onto architectural drawings. That means fixture schedules, pressure budgets, and friction checks arrive already coordinated with the HVAC and electrical systems sharing the same mechanical rooms and risers.

The firm’s plumbing design services cover fixture schedules, permit-ready pressure-budget calculations, pump and pressure-boosting selection support, and construction-phase site review to confirm installed conditions match the design. If your project needs engineer-stamped water pipe sizing calculations or a full MEP design package, request a project assessment through FutureGen’s plumbing design services page to get the process started.
Frequently Asked Questions
What’s the difference between nominal pipe size and inside diameter for sizing calculations?
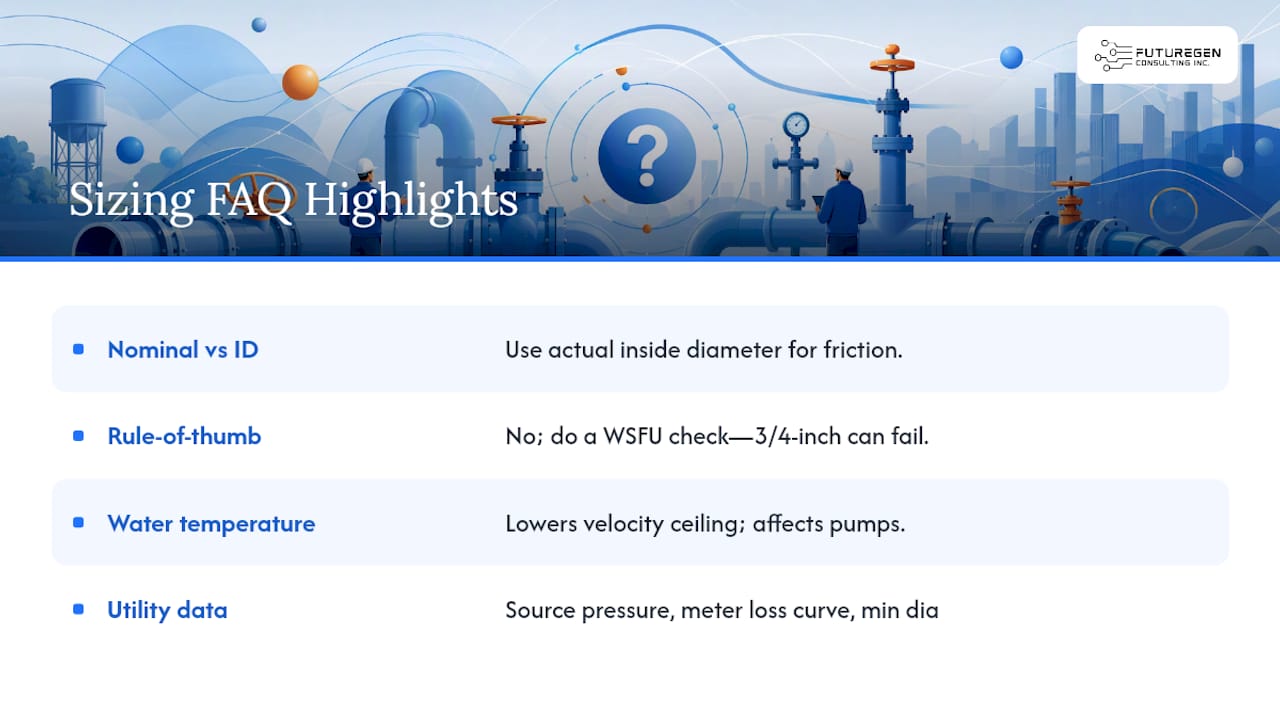
Nominal size is a labeling convention; actual inside diameter varies by material and wall thickness. Friction calculations require the true inside diameter, not the nominal label, or the results will be off.
Can I use a single rule-of-thumb pipe size for every residential branch?
No. A 3/4-inch branch that works for one bathroom group can fail under a higher-demand fixture combination like a rain shower and soaker tub on the same run, which is why a WSFU-based check matters even on routine branches.
Does water temperature affect pipe sizing?
Yes. Higher temperatures lower the recommended velocity ceiling, particularly on continuous hot-water recirculation loops, and that shift also affects pump and circulator selection for the loop.
What should I request from the water utility before sizing a service line?
Ask for minimum guaranteed source pressure, the meter’s pressure-loss curve at peak flow, and any local minimum service diameter requirement, since some jurisdictions set a floor size independent of calculated demand.
Sources
- National Plumbing Code of Canada 2025, first printing
- Water Service Pipe Sizing — City of Mississauga